Skip main navigation

Investigating the effects of thrombosis

Watch a practical demonstration to show what happens when a thrombus forms and how variable the effects can be.
5.2
Now that we’ve seen what happens when real blood clots, let’s mimic that using balloons and some jelly. If you’ve got all of the required items and you’ve read the information on the risks, let’s get started. We’re going to start with a control balloon. We’re going to take our balloon and we’re going to fill it with water. The balloon represents a blood vessel, and the water inside represents the blood.
38.7
Hold the balloon to the tap and slowly fill it with cold water until it’s about a third full.
53.4
Pinch the neck of the balloon to remove the balloon from the tap.
61.3
What we’re going to do is time how long it takes for the balloon to empty of water. This mimics the blood flow through a blood vessel. I’m going to start my timer and leave it running, then make a mental note of the time that I let go of the neck. Try to hold the balloon with the flat of your hand. Ready?
87.1
That took about four seconds. We’re going to repeat that twice more to get our control values. Let’s fill the balloon with water again.
106.6
Filling the balloon about a third full once more, release it from the tap.
116.8
Over a sink or basin, holding the balloon, make a note of the time, and release it. Let the balloon completely empty, and again, that was about four seconds. Note that on your worksheet. Let’s do that a third time.
139.9
Holding the balloon, noting the time, completely empties after about four seconds. Now, let’s see what happens when we mimic a thrombus. We’re going to do that by using a cube of jelly. Take your jelly and break off one cube.
163.4
Now, there’s a trick or a knack to getting the jelly cube inside the balloon. Hold the balloon and use four fingers to open the neck of the balloon. Place that over the jelly cube and scoop it inside.
184.4
The jelly cube falls to the bottom of the balloon. Let’s fill that with water again. Make sure that you use cold water or we’ll melt the jelly cube.
202.3
Pinch the neck of the balloon and release it.
210.2
You can see the jelly cube inside the balloon. We’re going to hold the balloon so the jelly cube goes near to the bottom, and then lay the balloon on the flat of your hand. Try to keep the hand flat. We’re going to time how long it takes the water to leave the balloon.
232.8
You can see that the jelly cube has got stuck in the neck of the balloon. In this case, the balloon has carried on emptying, but slowly. Make a note of the time that it takes, and then we’ll repeat it. Let’s do that again.
257.3
Move the jelly cube around, locate it near to the neck, and then rest the balloon on your hand. Note the time and release the balloon. We can time how long it takes for the balloon to empty. If the balloon stops completely and none of the water flows out, give it at least 60 seconds, and then mark on your worksheet that it took greater than 60 seconds. If it does continue to empty, then make a note of the time it takes. Let’s complete that one a third time.
299.8
Let’s see what happens. As you can see, the jelly has plugged the neck of the balloon, and it’s almost stopped the flow completely. It’s still trickling through, but this has much reduced the flow of water coming out. Imagine this is a blood vessel. If the flow of blood to the tissues downstream was reduced, that could result in damage or death to the tissues. Eventually this trickle will probably empty the balloon, but if it takes greater than 60 seconds, just note that on your worksheet as more than 60 seconds, and carry on.
340.8
So that’s taken about a minute. Let’s call it a day there and write that down as more than 60 seconds on the worksheet. In organisms as complex as humans, there are many variables to this, the size of the blood vessel, the size of the clot. Let’s start to investigate some of those variables. We’re going to start by repeating the experiment, but this time cutting the jelly cube in half. Take a fresh balloon and another cube of jelly.
374.9
Carefully, with the knife, cut the jelly cube in half.
386.4
Place each half of the jelly cube inside the balloon as you did before. Scoop one half in and then the other.
402.5
Let’s see what happens this time.
418.7
You can see the two smaller thrombi inside the balloon.
424.9
Now let’s see what happens.
429.4
Again, they’ve blocked the neck of the balloon, but you can see some of the water is still flowing out. This is what can happen with a clot inside a vessel. Sometimes the clot will stop the flow of blood completely, starving all the tissues that would receive that blood of oxygen. Other times, like this, the clots can partially block the blood vessel, and some of the liquid can get by. Let’s repeat it.
464.4
Ready?
468.6
So again, the clot has slowed down the flow but not stopped it completely. Let’s do that a third and final time.
478.7
Yet again, we can see that the clot has slowed down, but not stopped the flow of water. Make a note of the time it took, and let’s have a go this time at making an even smaller clot. We’re going to cut our jelly cube into four.
495.3
Sometimes when a clot happens in the arteries of the head and neck, it can cause an ischemic stroke. It blocks the flow of blood delivering oxygen to the brain. Sometimes, those clots can be ever so small, teeny tiny, and that causes a transient ischemic attack. These tiny clots aren’t big enough to actually block the flow of blood, but instead will disrupt the flow of blood. Let’s see if we can mimic that happening. Take another jelly cube and a fresh balloon. This time let’s cut the jelly cube into four.
543.2
We need to place each part into our balloon, so using the same technique again of opening the neck with four fingers, and scooping each piece of jelly inside.
565.7
Last one.
569.6
Let’s fill it up and see what happens.
574.6
This time we can see our four smaller thrombi in our blood vessel. When we let go of the balloon this time, what do we think is going to happen? Let’s see.
591
So the blood exited the vessel, or the water exited the balloon pretty much the same speed as we did with our control balloon, but did you notice that it sounded different? So this time we’re really listening for what we get, OK? It’s not going to stop the flow of water, but we want to see what it sounds like. Are you ready?
615.8
Well, apart from making a splash, we definitely heard the effect of the jelly cubes. The flow of water sputtered and this is what can happen with a transient ischemic attack. The tiny clots that form aren’t enough to actually stop the flow of blood, but they can disrupt its flow. Let’s mimic that one last time.
640.5
So again, you could take the sputtering sound as the small, tiny clots forced their way through the neck of the balloon. So we’ve looked at what happens with different sized clots, but there’s other variables that you could explore at home. Perhaps there’s a difference and we have different shapes or sizes of balloon. What happens if we fill up the balloon with more water or less? If you want, you can explore these variables before clearing up, but when you’re finished, complete your worksheet and then tidy up the area as usual. Wash all your utensils with hot, soapy water, and wipe the area down with a suitable disinfectant. Finally, clear away all the rubbish and wash your hands.
684
I hope you found this practical both enjoyable and interesting, and it’s helped with your understanding of the effects of thrombosis.

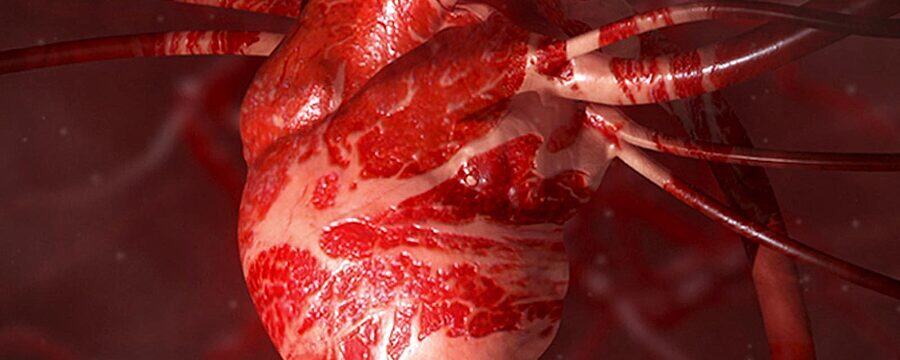
Using jelly cubes to mimic a thrombus and balloons to mimic blood vessels, this practical explores what happens when a thrombus forms and how variable the effects can be.

A list of items needed to perform this practical can be found in the previous step as well as step-by-step instructions for the practical in the downloadable Week 2 home practical guide: Investigating the effect of thrombosis.

Dr Natasha Barrett and the University of Reading are happy for these videos to be used as learning resources in teaching. If you do wish to use the home practical videos, please ensure that you also include the safety information which accompany each practical. The safety information for this practical is in Step 2.14. If you wish to use the video or any other video on the course, please attribute the University of Reading. Please do not modify any of the videos from the course.

This article is from the free online

Heart Health: A Beginner's Guide to Cardiovascular Disease

Created by
FutureLearn - Learning For Life

Reach your personal and professional goals

Unlock access to hundreds of expert online courses and degrees from top universities and educators to gain accredited qualifications and professional CV-building certificates.

Join over 18 million learners to launch, switch or build upon your career, all at your own pace, across a wide range of topic areas.

Start Learning now