Home / Creative Arts & Media / Digital Media / Motion Capture: The Art of Studying Human Activity / Choosing appropriate marker placements

Choosing appropriate marker placements
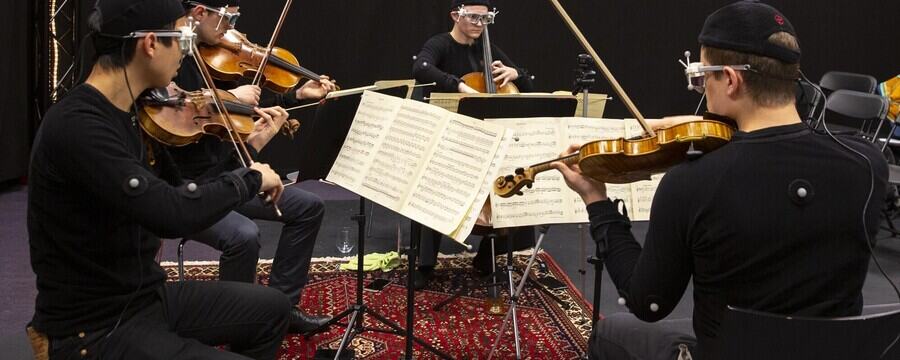
Markers have to be placed carefully on moving bodies to ensure that motion is captured effectively.
Markers have to be placed carefully on moving bodies to ensure that motion is captured effectively. How do you decide where to place your markers? What marker sizes should you use? How do you attach them to a body so that they don’t fall off?
In this video, Laura and Mari talk about placing markers to capture different kinds of motion. They discuss some of the challenges that they have had with marker placement in their research.
This article is from the online course:
Motion Capture: The Art of Studying Human Activity
Created by

This article is from the free online
Motion Capture: The Art of Studying Human Activity
Reach your personal and professional goals
Unlock access to hundreds of expert online courses and degrees from top universities and educators to gain accredited qualifications and professional CV-building certificates.
Join over 18 million learners to launch, switch or build upon your career, all at your own pace, across a wide range of topic areas.


