
Capturing bodies with passive markers

Data acquisition with infrared motion capture is traditionally implemented using special markers attached to the object of interest. Markers are usually attached to the subject’s body using tape or glue or specially designed suits that use Velcro to attach markers on any relevant body part. This article discusses some topics to consider when choosing marker types and position.
Passive vs Active systems
There are two types of marker-based systems: passive and active. A passive optical system uses markers coated with a retroreflective material to reflect light (usually infrared) generated near the cameras lens. The camera’s sensitivity to capturing the light can be adjusted so that only the reflective markers are sampled, ignoring skin and other materials. The motion capture system estimates the 3D position of the centroid of each marker from the 2D view captured by individual cameras, as explained earlier.
Active optical motion capture systems use markers with a built-in light source, typically a light-emitting diode (LED). There are different ways this can be done. For example, one LED can light up very quickly in a particular sequence, or the LEDs can have different light frequencies.
The benefit of active markers is that the system is less prone to reflections. So they can more easily be used outdoors or in settings where there are many shiny objects (such as when capturing drummers). The challenge with active markers is that they need a power source and some electronics. They are also much more costly, and you cannot use many at the same time.
For that reason, a passive markerset is a default in most motion capture setups. However, sometimes active markers may be beneficial.
Skeletons and rigid bodies
We can refer to the collection of markers placed on a person or object as a “markerset”. Most MoCap software gives you the option of turning your markersets into skeletons or rigid bodies.
Skeletons are predefined markersets for the human body (or part of the body, such as the upper body). Using one of the skeletons already implemented in the MoCap software may facilitate the capture and labelling of markers. That is because information about the expected position of the markers relative to each other has already been programmed. In addition, some software allows you to create your own skeletons and then learns how markers are likely to move relative to each other over time.
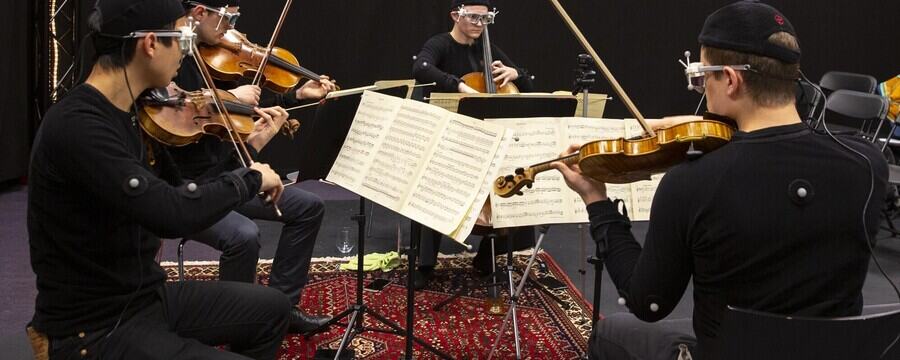
Markersets placed on inflexible objects can be defined as rigid bodies. For rigid bodies, the position of the markers relative to each other does not change. For example, a music stand or an instrument like a violin could be defined as a rigid body. It is important that rigid bodies are entirely inflexible and that the markers are attached to the object very firmly. Even a slight movement of one marker will cause detection of the rigid body to fail.
Choosing marker positions
The placement of markers on human bodies or objects is highly dependent on the activity you want to capture, the information you want to extract from the position data, the number of participants in the experiment, and the location of the cameras in the laboratory.
One key point to consider when tracking human motion is whether you are interested in the trajectories of a body part (such as the head) or the angles of joints.For example, iff you want to capture the elbow’s angle, you will want to capture the segments above and below the elbow by placing markers on the forearm and upper arm.
Markers come in different sizes. Larger markers are more visible to the cameras and can be tracked at longer distances. Therefore, it is recommended to use large markers when possible. Smaller markers should be reserved for situations where large markers interfere with the motion you are trying to capture or where markers must be placed close together. For example, you’ll need to use small markers if you want to capture fingers or facial expressions.
If you plan to capture multiple similar markersets simultaneously, it is a good idea to arrange them asymmetrically. Some asymmetry will help the MoCap system distinguish between the markersets. Otherwise, if two markersets are very similar, mislabelling of markers might occur.
Markers should also be placed asymmetrically within markersets. This is especially important to keep in mind for rigid bodies. Symmetrical shapes like squares should be avoided because their orientation is ambiguous, and marker labels are likely to get mixed.
Summary
Before creating your markersets, it is important to think through what kind of motion you plan to capture. For example, say you’re interested in head motion. It would be best to decide whether you want to capture head trajectory (which can be done with a single marker) or the angle of the head relative to the shoulders (in which case you need at least 2 markers on the head plus markers on the head the shoulders). We recommend making preliminary analyses of pilot data to check that you can extract your desired motion features from your markersets.
Motion Capture: The Art of Studying Human Activity

Motion Capture: The Art of Studying Human Activity
Reach your personal and professional goals
Unlock access to hundreds of expert online courses and degrees from top universities and educators to gain accredited qualifications and professional CV-building certificates.
Join over 18 million learners to launch, switch or build upon your career, all at your own pace, across a wide range of topic areas.


