Skip main navigation

New offer! Get 30% off one whole year of Unlimited learning. Subscribe for just £249.99 £174.99. New subscribers only. T&Cs apply

Find out more

How to label a flexagon

There are many ways to label a flexagon. Two important labels to understand are leaf id’s and folding numbers
Flexagon Labeling
© Davidson Institute of Science Education, Weizmann Institute of Science

There are many ways to label a flexagon. Two important labels to understand are leaf id’s and folding numbers:

  1. Leaf id’s assign a different number to each leaf to distinguish between each individual leaf. Numbers are usually assigned sequentially after folding the flexagon into its main state, by numbering the leaves sequentially, going clockwise, starting from the main hinge.
  2. Folding numbers are the numbers that we assigned to each leaf in order to show how to fold them into the main state of the flexagon. Numbers are usually assigned to show how to fold the template: by folding two leaves with the same folding number face to face, going from the largest number to the smallest.

There are many other ways to number flexagons. Flexagonator is constantly being updated with labelling schemes as we understand flexagon structure better.

Flexagon templates

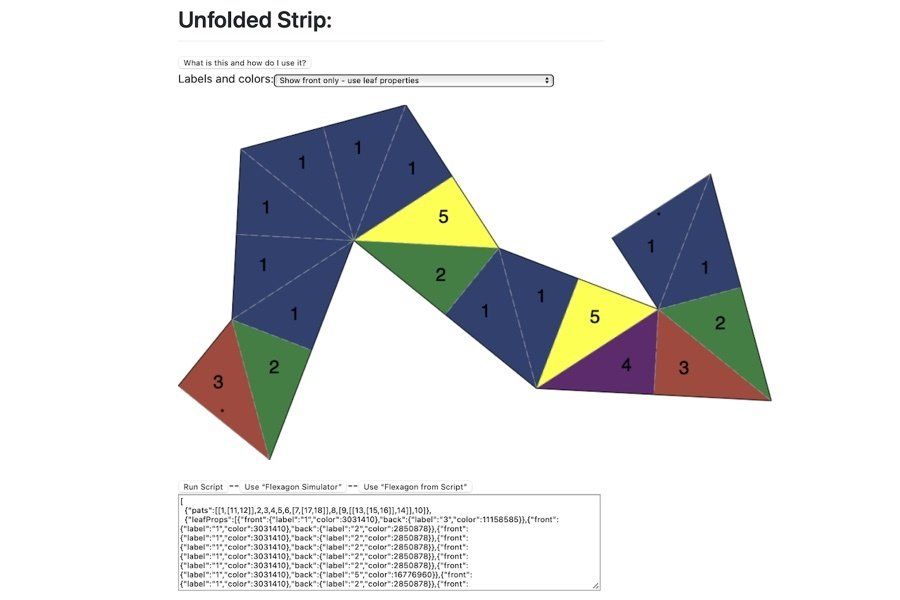
The third section of the ‘flexagon playground’ creates templates for flexagons created using:

  • Flexagonator (first section) — ‘Use Flexagon Simulator’
  • Flexagon Script (second section) — ‘Use Flexagon from Script’
  • A new script (third section) that you input directly — ‘Run Script’

The output is a numbered template, and you can choose which numbers and colours to display. Large numbers are the numbers on the front face of the template; small numbers are those written on the back.

You can choose to show either leaf id’s, folding numbers or both. You can then copy the template, number it and make the flexagon, however, I much prefer to print them, using the last two options in the drop-down box.

These options are ‘show front only’ and ‘show back only’, because the template gets coloured and numbers the leaves accordingly. Unfortunately, there is still no option to print the templates directly, so you have to display the front template, then copy the image by taking a screenshot, and past it into an image processing program (like Preview on Mac or Paint on Windows).

Do the same with the back template and then print double-sided on a printer — or print each side separately and glue them together.

© Davidson Institute of Science Education, Weizmann Institute of Science
This article is from the free online

Flexagons Galore: Advanced Flexagon Fun

Created by
FutureLearn - Learning For Life

Reach your personal and professional goals

Unlock access to hundreds of expert online courses and degrees from top universities and educators to gain accredited qualifications and professional CV-building certificates.

Join over 18 million learners to launch, switch or build upon your career, all at your own pace, across a wide range of topic areas.

Start Learning now